Aside from your post, the menu bar is the single most important part of your site. It is what will keep people reading on your pages. If you can, keep your menu bar to one line of options, and if you must continue adding other tabs, maybe offer another menu down the side. Rows and rows of options can overwhelm a reader. Drop-down menus are another way to avoid this scenario.
Creating a menu bar with WordPress
When you first install WordPress, your menu bar is determined by the number of static pages you publish. For example, you might have an ABOUT page, a CONTACT page, and a RESOURCE page. The default WordPress theme will simply add them to the menu bar. But what if you want something customized?
With the exception of a few themes, these instructions will work.
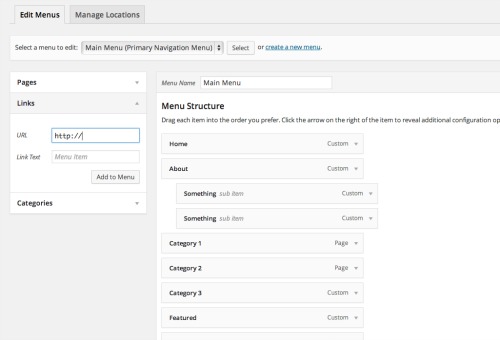
APPEARANCE > MENUS
- At the top of the screen, click CREATE MENU.
- On the left, you’ll see you can create menu tabs from several different options – PAGES, LINKS, CATEGORIES.
- Click on PAGES first. A list of your most visited pages will come up. You can click on ALL pages to see every one that you’ve published.
- Simple check the ones you want, and click add to menu.
- Next, you have the option of creating a direct link. This is handy for sending people to outbound sites, or – you can even use it to send them to a specific spot on your site by creating an anchor tag.
- If you want to send your readers to a bundle of posts that all have the same tag, you can write in the direct URL as well.
- Next, you have the categories option. This will create an archived list of posts in a certain category. Click and add them to the menu as well.
What if you want a drop down menu? Simply click and drag the item and indent it to the right about 1/4 of an inch. It will nest under the parent category. Once you’ve finished making your menu, choose a location at the bottom (some themes have several menu areas). Then click save!
Creating a menu bar with Blogger
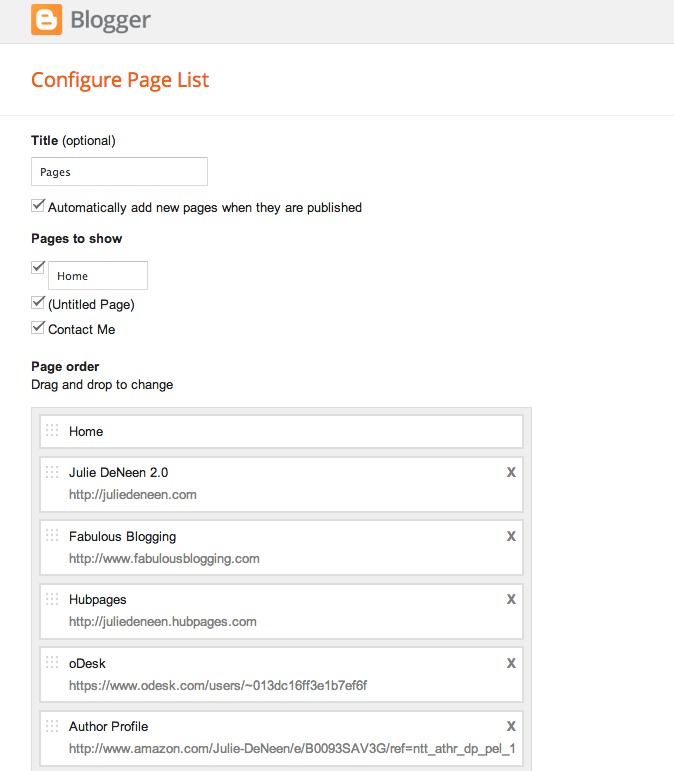
- To create a menu bar, go to your blogger overview screen and click on pages.
- Type New page. Create and publish the pages you need (i.e. About, Contact, etc.).
- Then go into LAYOUT, and click on the pages widget and customize your options.
- If you want Blogger to pull up a category archive of posts, there will be an option that says, ADD A LINK PAGE. Then you can type in the direct URL of the labeled posts so it pulls an archive. This post explains how to find that URL. In essence, it’s http://yourdomain.blogspot.com/search/label/labelname.
Your menu bar is important, so take some time to organize your thoughts so that your readers can easily find what they are looking for!