 PicMonkey is a favorite tool for bloggers. It’s easy and quick, allowing you to add text and overlays to photos for blog posts. If you can’t afford Photoshop, it’s the perfect alternative! Having worked with it for nearly two years, I’ve learned a few tricks that may help.
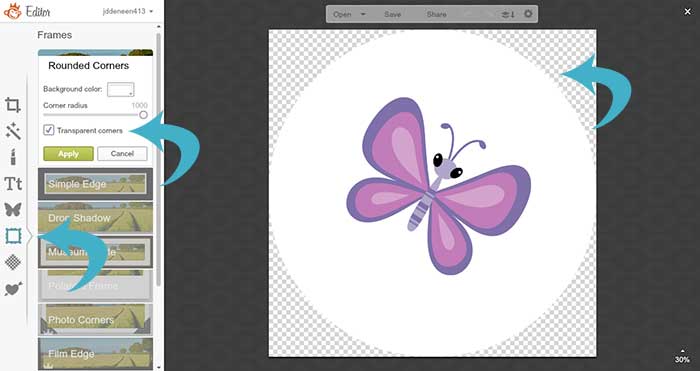
Creating a round button
In the design option, when you are done with your image, click on the frames tab. Choose rounded corners and pull the slider as far as it will go. Then, click the button that says transparent so the background has no white space. Voila!
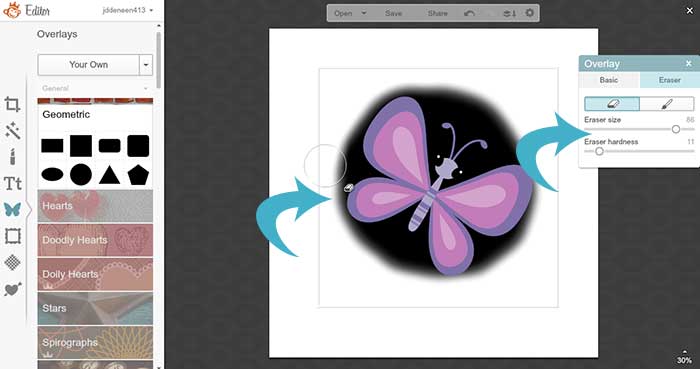
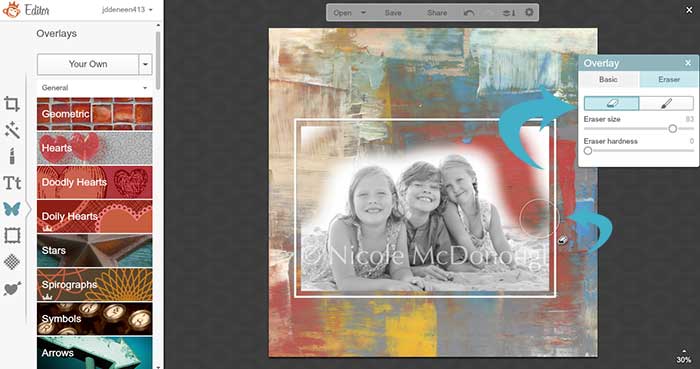
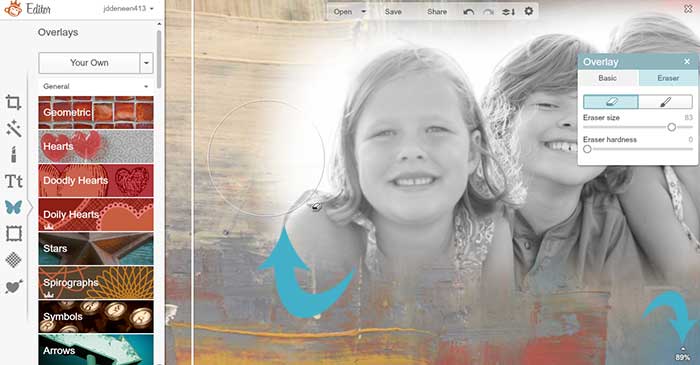
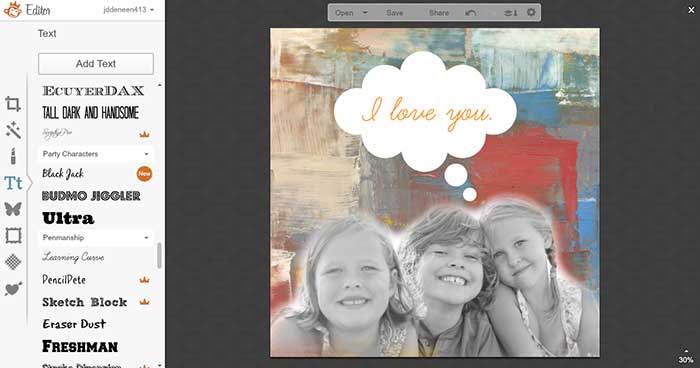
Soft edges on shapes
Sometimes you want your shape (or photo overlay) to have a cloudy edge. To do this, click on the overlays option. Pick a shape and put it on your canvas. Then, in the little toolbar box, choose eraser. Make the eraser as big as you can and change the softness to 10. Then you can trace the edges of your shape and make it look cloudy and soft around the border.
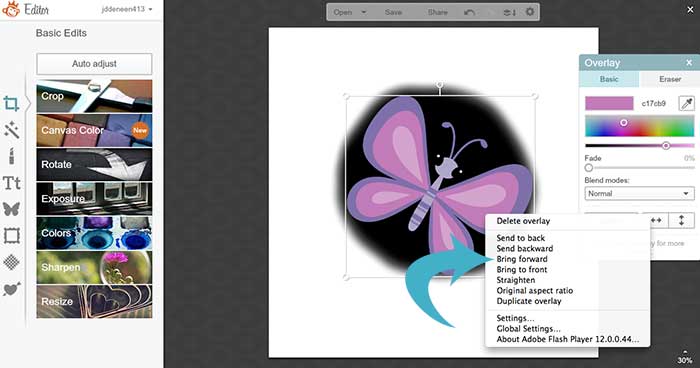
Right clicks
Anytime you are working with text or an overlay, right clicking will allow you to delete, copy, or send it to the back and to the front.
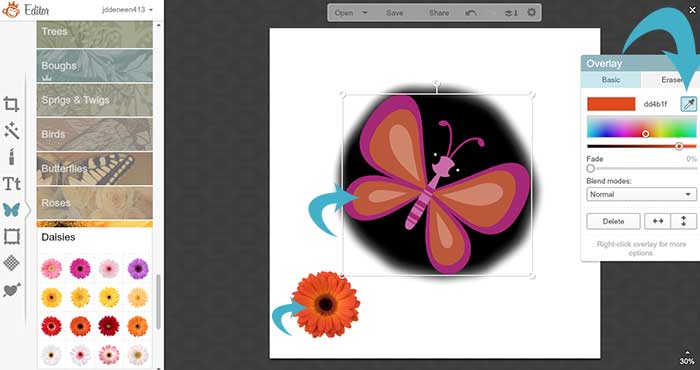
The eyedropper tool
If you have a butterfly overlay and want to change the color to match the flower, click on the overlay. Choose the eyedropper tool from the little toolbox and click on the color you want to match it to.
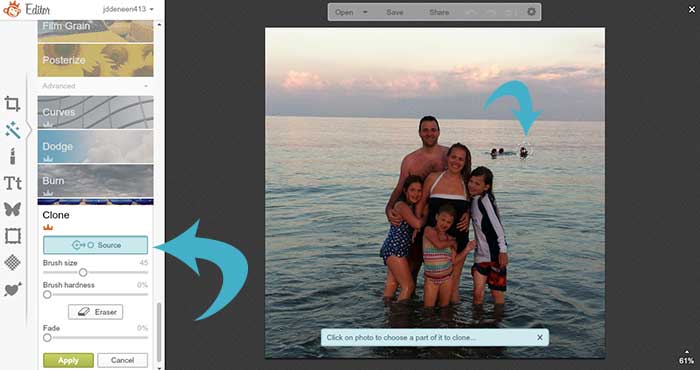
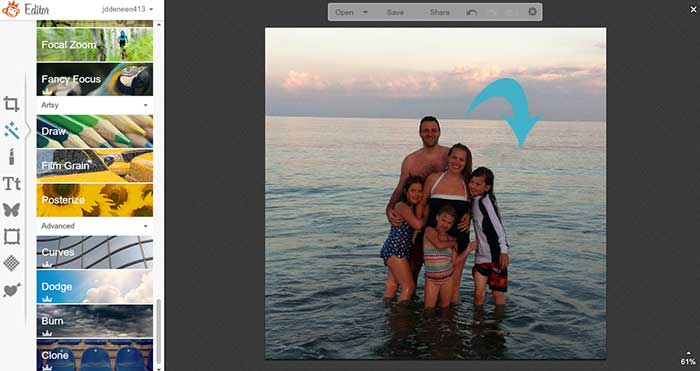
The clone tool
I had a great photo of our family in the ocean, but there were three people behind us that ruined the shot. If you click on the Effects tool, go all the way to the bottom. Click on the clone stamp tool. First, you need to pick the source. This is the part of the picture that you want to cover, so I picked a piece of the ocean. Then, set the size of your brush and carefully click over the part you want to erase.
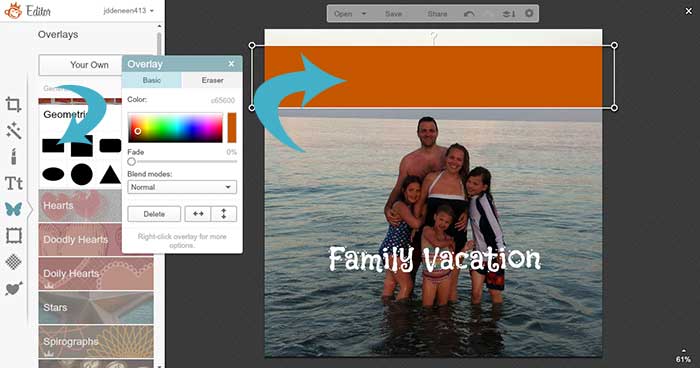
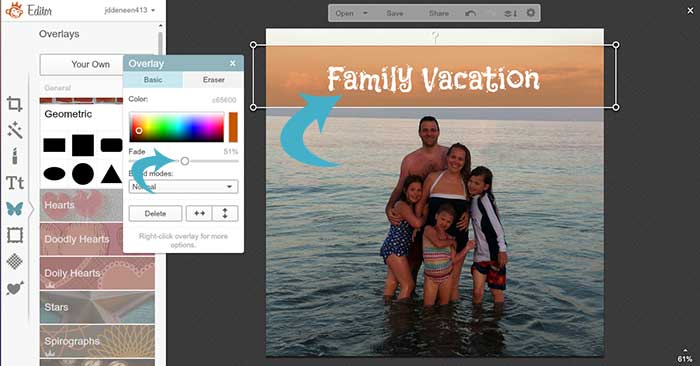
Faded banner overlays for text
Oftentimes the image I have doesn’t make it easy to see the writing. So, using the overlay tool I create a rectangle. Then I click on the fade button in the toolbox and bring it down to 40% or so. Then I move the text onto the banner, right click it and click send to front.
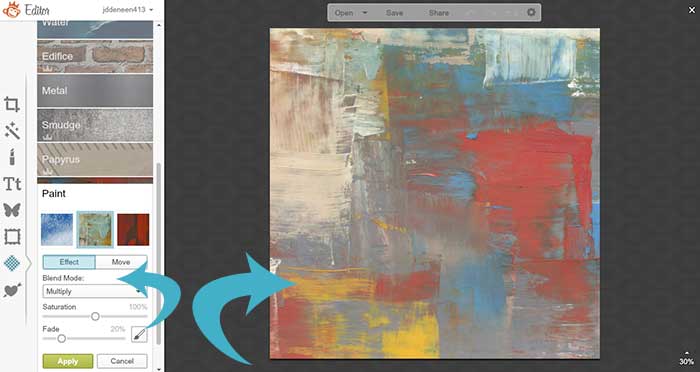
Painted textures for cool backdrops
If you want something other than a white background, click on the textures tab when you are in design mode. At the bottom you’ll see a paint, weave, and papyrus. You can choose patterns that will fill up the whole white space. If you want to shrink or enlarge the pattern, you can with the slider.
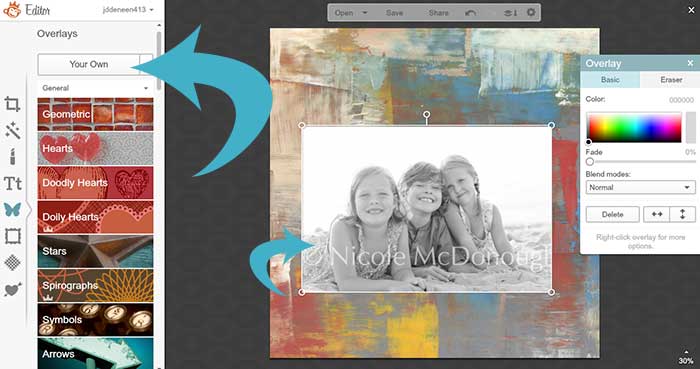
Overlay photos
Rather than uploading a photo directly into Picmonkey, use your textured background and put the picture as an overlay. Click on the overlays button and choose the YOUR OWN button at the top. The picture will appear and you can resize it. I’ve shown you how to soften the edges and this is what it looks like when you’re done.
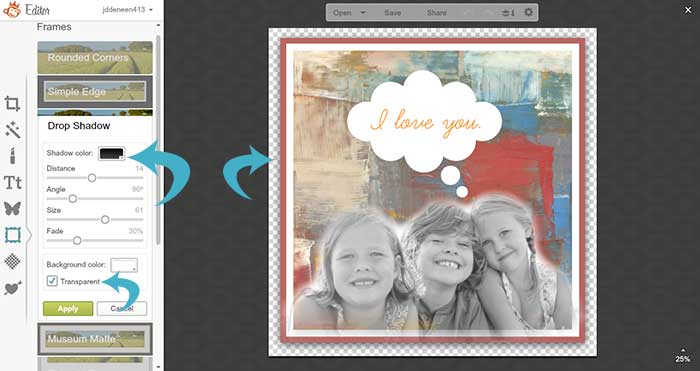
Give your pictures a 3D effect
Once you’ve edited a photo, try using the dropshadow in the frames tool. The key is to hit the transparent button so when you upload it into your blog, there is no white space border around it. You can also choose a framed border and use the eyedropper tool to match the color of the frame to the color of the photo inside it.
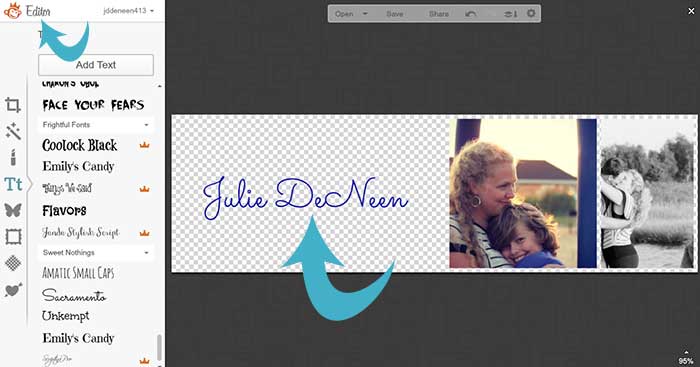
Creating a header for your blog
I have several posts on creating header images for your blog using PicMonkey, but here is a tip that goes a long way. If you want some photos and text, try the following steps.
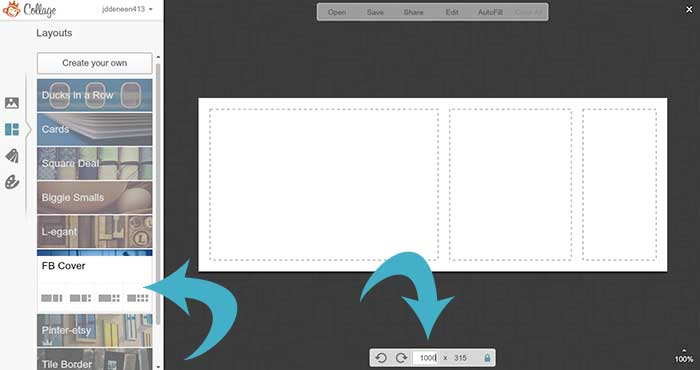
- On the PicMonkey homepage, choose the collage option.
- Then upload the photos you want to include.
- Choose the Facebook Cover Photo layout and adjust the size at the bottom (where you can type in the width and height manually- make sure to hit the unlock button as well).
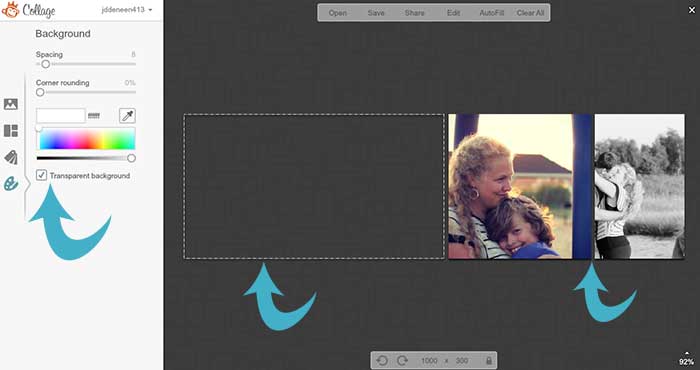
- Load the photos into the collage. Using your mouse, click on the edges to shrink or enlarge the boxes.
- Then using the background button, shrink the white spacing between the photos until you have it like you like.
- Keep some of the boxes empty (without photos). This will be where your text goes.
- Finally, in that same background button area, click transparent. This is the key!
- At the top of your screen, click on edit. Now it will pull your collage (with a big transparent area) into PicMonkey and you can put text and other overlays on a transparent background.
One last tip – whenever you save your work of art, save it as a PNG and not a JPG or your transparent background will disappear!
If you are thinking about design as a business (or if you want to deal with vectors and more complicated graphics), your best bet is to invest in Adobe Photoshop and Illustrator. While PicMonkey is a fun (and inexpensive tool), it’s no substitute for the robust design programs that web designers and illustrators use.
Here are some other resource articles about header images and design. Any tips you’d like to share in the comments?
Be sure to check out my PicMonkey Addiction Pinterest Board for more resources.