Do you ever feel like your blog is too small?
It’s called blog claustrophobia, and I have a solution. People often give their blog more columns, or menus, or footers, but sometimes it’s a matter of simple design.
If you look at this blog, you’ll notice the header spans the width of the site. It runs right off the page. Compare this to JulieDeNeen.com where there are borders. It’s like a page superimposed on a page over there. Here, there’s more space.
So how do you create a header that runs right off the page?
Hire me. 🙂
A designer will have access to Adobe Photoshop and other tools that can create layers and shadows.
But sometimes, money is an issue. So I’m going to give you an easy way to create your own “site-wide” header without hiring a designer.
You will need a photo editor of some kind; PicMonkey (pro version is 4.99 a month), GIMP (free), Photoshop (your life savings).
We’re going to create a header that runs right from edge to edge on your browser.
Some WordPress themes allow you to add different backgrounds overlayed on top of each other. Others are not as easy to work with. If you need a new theme for little money, Weaver II Pro is $30.00 and will do anything you ask it to! Other themes that are great (but pricey) are, Prophoto (seen on my personal blog and running you $200.00) or Genesis (about $100.00). But be mindful that Genesis requires CSS.
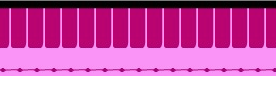
Here is an image of the general header we’re going to create today (it won’t be exactly like this, but close).

1. Open up your photo editor. If you’re using Picmonkey, you need a white canvas to play on. If you use GIMP or Photoshop, you can build on a transparent surface (which is preferable).
2. The first thing we’re going to create is the light pink background. Draw a very thin pink line with a shape tool. I would normally be doing this in Photoshop, but I’ll do it in Picmonkey for beginners.

3. Now create a little border on the bottom using a shape tool. I used the flourish overlay and put two together to make a tiny little line with a dot in the middle.
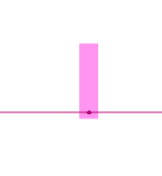
The extended lines will be cropped out eventually, so don’t worry about those.
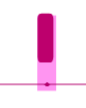
5. Now, using a shape tool, make a shape that covers the top half of the border. I put mine to the side so there’s a bit of pink showing on the right. This will become a space in between the border.
![]()
6. Now add a top border if you want.![]()
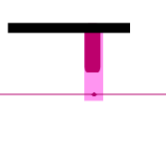
7. Now we need to crop it to exactly the shape we want. This shape will repeat itself over and over, making the top border. Don’t leave any white space.

8. Go to your WordPress site and go to appearances and background. Upload your photo. Make sure you choose the options:
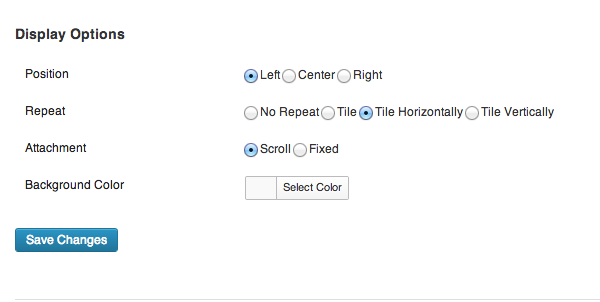
–tile only horizontally
–left aligned
–choose the background color to be white (or whatever you want it to be)
![]()
9. Hit save. Then check out your site! It repeats perfectly!
Once you understand the concept, you can make any shape you want.
![]()
This image repeats horizontally to create a cool look at the top of a site.
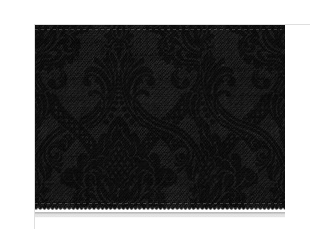
What if you‘re completely designing inept? You can use some free backgrounds and spice them up. Go to my background post and pick a swatch. Download it and open it in PicMonkey.
![]()
Repeat the steps above to create a top border and then crop it to the specifications you need.
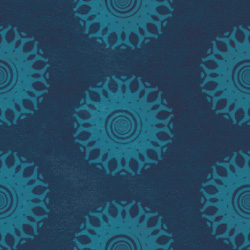
![]()

Ultimately, GIMP and Photoshop can give you an endless amount of ideas and options. You can also buy pieces and parts (or download the free ones) and simply use the “tile horizontally” feature to get yourself a top border.
WHAT IF YOU ARE ON BLOGGER?
All these same principles work. To upload your design, follow these instructions.
- Go to your dashboard and click on template.
- Click customize.
- In the template designer, choose background.
- Upload your background image.
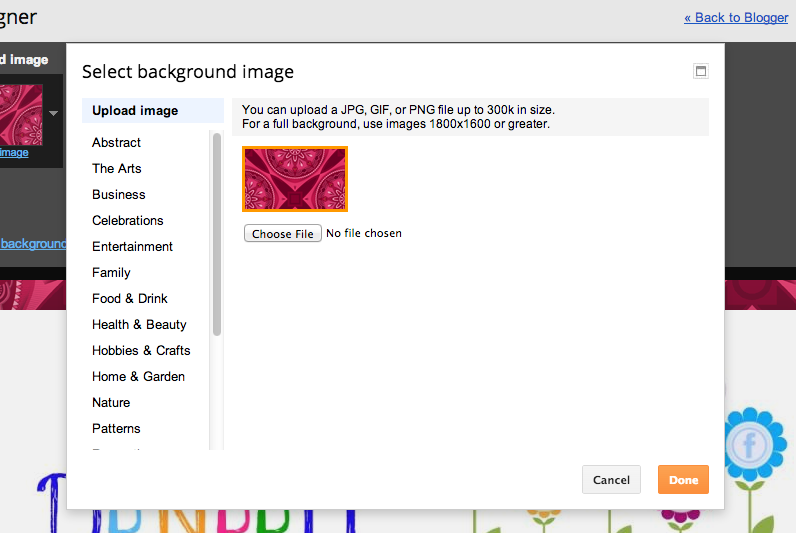
Then hit done.
Notice to the right of the image where it says alignment and tile? Those are your options you want to change. Choose top left and hit repeat horizontally.

![]()
You should be all set!
I have a few other posts on Header designing if you are interested.